Showing posts with label potatoes. Show all posts

May 8, 2013

Hurry! Get Everything in Before the Rain!

written by Yvonne

It's time to get some major Spring work done in the garden. The seedlings are ready to be planted and the rest of the winter garden is ready to harvest and pull up.  Here goes...

The spinach that's been growing all winter is ready to be harvested and removed to make space for a new crop.


Tom got right to work on it.  We've been eating/drinking smoothies made with spinach just about every morning for two weeks now and STILL haven't run out of spinach yet.  You want a DELICIOUS and nutritious recipe? See below:


Super Yummy and Healthy Breakfast Smoothies
Serves 2

2 cups frozen blueberries
1 banana
2 TBSP unsweetened coca
1/2 cup unsweetened soymilk
1 TBSP flaxseed
5 oz spinach
4 dates
1/2 to 3/4 cup water
6 or so ice cubes

Put ingredients in a blender and blend until smooth.  It's thick and it looks kind of like mud but it's super tasty.

One item needing to be done in the garden was to place hay around everything that's come up. Here are the beets before adding hay...


and here they are after. The bed to the right has carrots and a lot of grass. The carrots aren't big enough yet to distinguish from the grass yet so we'll have to wait to add the hay.


This is the 2nd round of spinach before adding hay...


and here it is after. One reason we pulled up larger bed of spinach was because we successfully succession planted and knew that this new crop of spinach would be ready soon.


Here are the peas before staking and adding hay...


and here they are after.


We needed to remove hay from a few area where we previously put it down because the seedling are just too small to plant among the hay. We discovered this when we saw that a few broccoli and kale plants got swallowed up by the hay.  So we either need to remove it altogether or make much bigger spaces to plant the seedlings.


Several cucumber seedlings are down now (yeah!). I think the cages will keep the hay back so the plants don't get swallowed up.


Here is a before picture of one half of bed #1.  We'd covered it with hay weeks ago but decided we needed to move it to plant the tomatoes.


Here it is after the tomatoes and growing spirals were put into place.  Once the tomato plants get bigger, the hay will go back on to nourish the soil and keep it moist.


This bed now has new kale, broccoli and chard.


Our second round of collards is coming along just fine.


The lettuce patch is picking up as well.  We found two volunteer squash (or melon) plants in amongst the lettuce.  We pull the two of them out and put them, and the squash and melon seedlings we'd started and....


planted them in the side yard. We officially have run out of space in our four raised boxes and now need to take over some additional areas of the yard.  Two years ago, we tilled up all the grass on this side of the house so it would be ready for planting some day.  No time like the present!  We'd tried sweet potatoes here and they only sort of didn't work. On the one hand, they rooted and the vines grew like crazy. However, the tubers didn't get very big at all.  We suspect it's because the dirt here is heavy Carolina clay so we think it was too dense for the tuber to grow.  Our new theory is that since the roots did indeed grow so we should be able to grow in this area - just maybe not tubers.


Therefore, we took the melon seedlings, some melon seeds, and the mystery plants that were growing in the lettuce patch and planted them here.


Then to the left of the berry bushes, we planted the squash seedlings.


Because we'd run out of room in the raised beds (one of those good problems to have), we also realized we didn't have a SINGLE bean plant started!  Yikes!  Must fix that problem right away!  We dug a small row along this patch on the side of the house and threw down two seeds each of four varieties of beans.  By this time in the day, it had already started raining and we were both tired.  As much as I want things to grow, part of me didn't think these beans would actually take root so I didn't give much thought to how close they were or their spacing or anything.  Now, a week later?  They are actually sprouting and I'm thinking "Geez, if these really take off, I hope they aren't too close together or block us out of using the driveway."  Again, another good problem to have, I suspect.


The berries are REALLY filling in this part of the side yard, which is exactly what we wanted.


We even have some blooms going on which means berries aren't too far behind!!!!!


After doing all this work on Saturday (actually a week ago this past Saturday), it rained constantly from Saturday night through Monday.  A nice, steady, light rain with one or two periods of down pour.  We couldn't have planned it better if we tried.  Seems like we might know what we're doing finally, eh?

April 9, 2013

End of Winter, into Spring. Work, work, work!

written by Yvonne

This post is an accumulation of about three weeks worth of gardening work. Instead of writing about it by the week, it's categorized by areas of the garden.

GARLIC

The grass had grown SUPER high around the garlic and it was gonna take some time to dig through and determine what of the tall green stuff was grass and what was garlic.


Describing this as similar to finding a needle in a haystack may be a slight exaggeration, but not by much.  The garlic looked ever so slightly different from the grass. The grass was so intermixed, it wasn't possible to pull the grass out without disturbing the garlic, so I oped to just cut the grass as close to the soil as possible.


These two piles of grass is what I cut from around the garlic.


Last step was to put hay around each bulb of garlic. Whew! What a job. If Ruth Stout's hay mulching works, I'll never have to do that again.


POTATOES AND ONIONS
This area is where we've grown potatoes before. Last season, we planted both onions and potatoes but the onions never took off. Or so we thought....


Upon closer inspection, there are onions growing here (kinda hard to see in this picture, but they're there). We started a round of onions in pots this year and Tom added them to this patch as well.


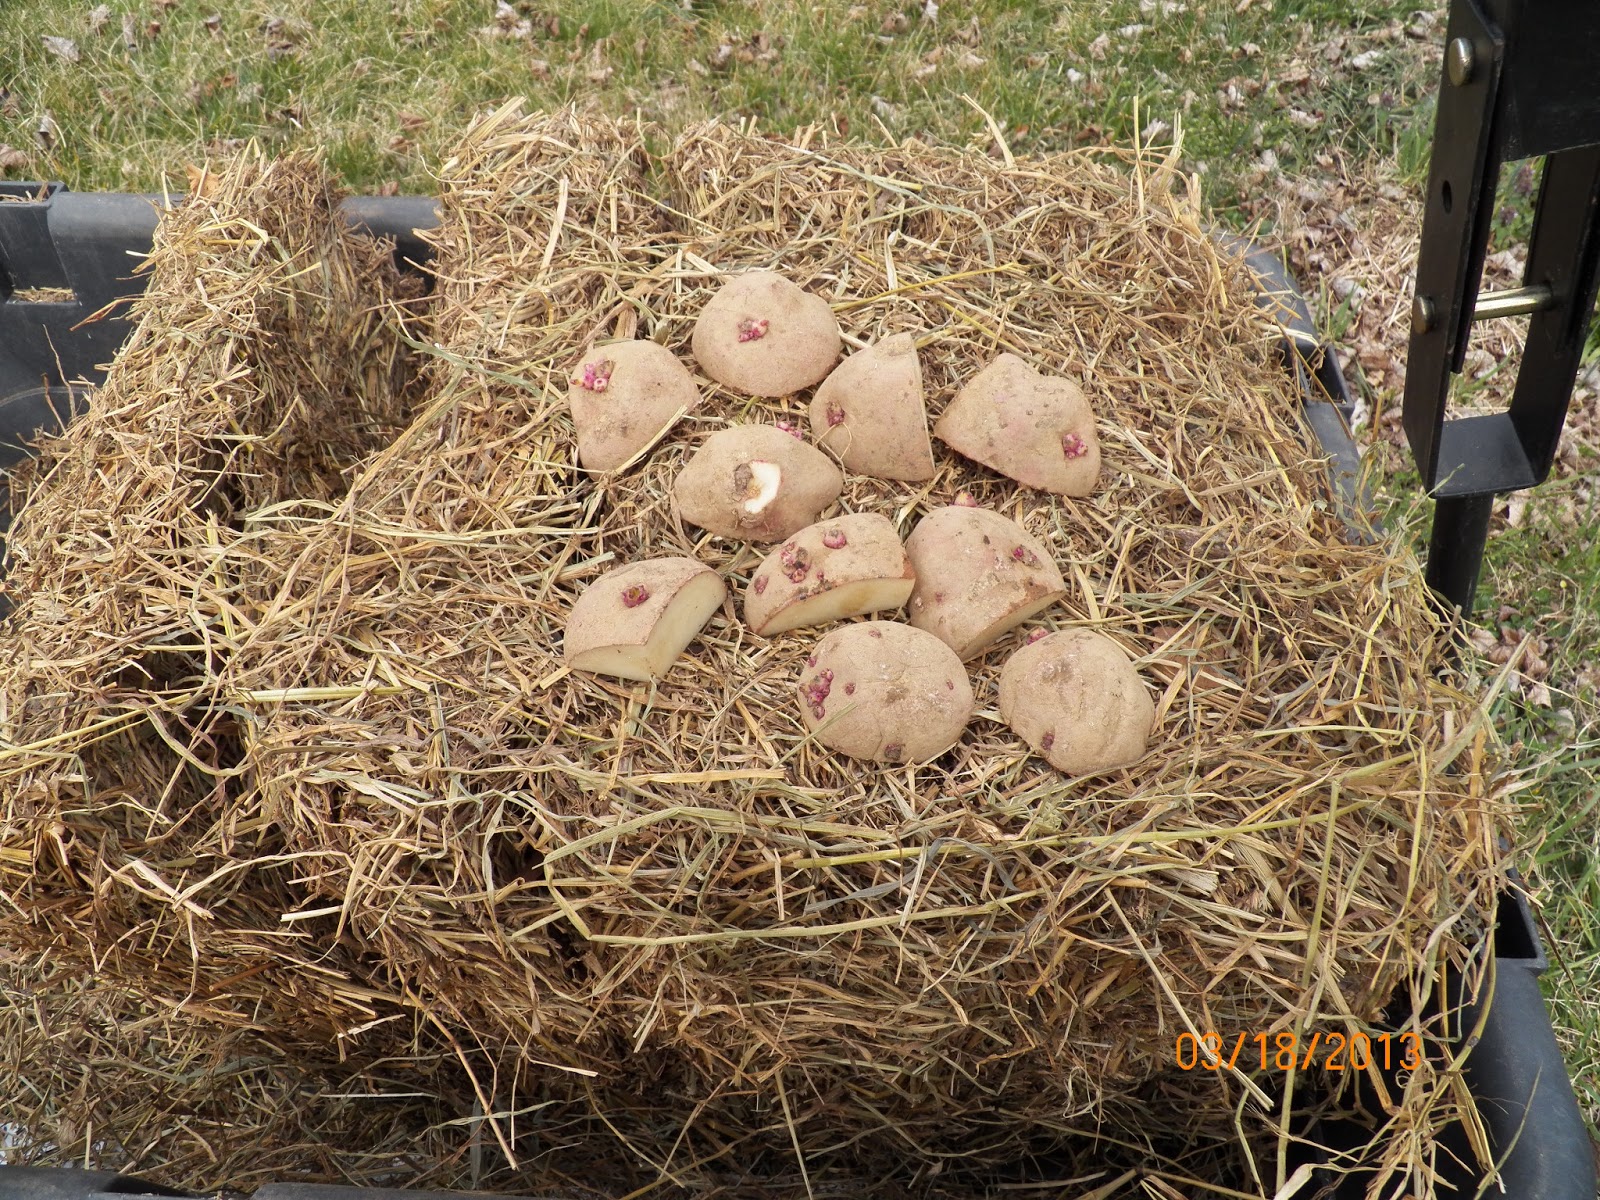
I threw the potatoes on one end of the potato/onion bed and then covered them with a thick layer of hay. We'll see if they spout this way or now.  It'll be SO cool if they do!  (I have doubts.)


PEAS

Granted, it has been cold, but gosh darn it these peas are taking their sweet time.  This big white ball in the photo is the pea seed pushing out of the ground ready to open up.


Here is one that has shed its outer hull and started to actually sprout.


NEW PLANTINGS (IN POTS)

Time for even more seeds to go into the greenhouse.


All the herbs, tomatoes, peppers, cucumbers and round two of broccoli, kale, and more greens are all in pots now.


The first round of collards, kale, onions and broccoli are doing pretty good at this point.


PARSLEY

I'd uncovered a parsley plant no too long ago.  It sure is great to have such flavorful parsley at the ready when cooking! I spread another row's worth of seeds next to it so there would be plenty through the spring and summer.


COLLARDS

After putting the hay down just a few weeks ago, the collards, spinach and cabbage grew significantly and they all turned greener. I couldn't believe how much of an impact the hay has made in such a short time! Since the second round of collards had sprouted in pots and was read to plant, I thought the best thing to do would be to...


pull all the collards out and make space for the new seedlings. So I did just that. Once the plants were pulled up...


I pushed the hay to one side...


and carefully separated the seedlings from one another and planted them in the space where the previous collards had been.


And now it looks like this.


And here's how much I pulled up. Three baskets full!


Tom and I made an assembly line to blanch the greens and set them in 10oz nests for freezing. We were able to get 5 10oz nests out of the three baskets full.


BERRIES
We blinked and all of a sudden the berries started blooming. These are canes that didn't produce berries last year and supposedly they will produce berries this year.


We didn't get all of the canes cut back and now (obviously) it's too late cut them. So we may just wake up one morning to find our cars completely surround by fast-growing raspberry and blackberry canes.


DIRECT SOWING

Several items do better by sowing them directly (versus starting them in pots) so Tom got to work doing some direct sowing. First thing he had to do was clear the hay completely off the planting area. When planting seeds direct, you have to get them at least to touch the dirt.


Once the hay was removed, he sprinkled seeds in the dirt and patted them down.


Here is a nice half-bed worth of lettuces...


and another quarter of a bed of spinach, carrots and beets.


Once the seeds sprout, we'll pull the hay around the plants, like we did for the spinach and collards.


There's lots of activity going on with T's Bees these days. If you want to read all the buzz, go to www.tsbeeshoney.com.  Also, if you want to know when the 2013 crop of honey is ready for purchase, click on the Contact Ts Bees page and fill out the form.

March 12, 2013

Hay: It's Not Just for Horses

written by Yvonne

We FINALLY harvested some greens - spinach and collards.  And boy were they delicious!


We've also been enjoying carrots as well.


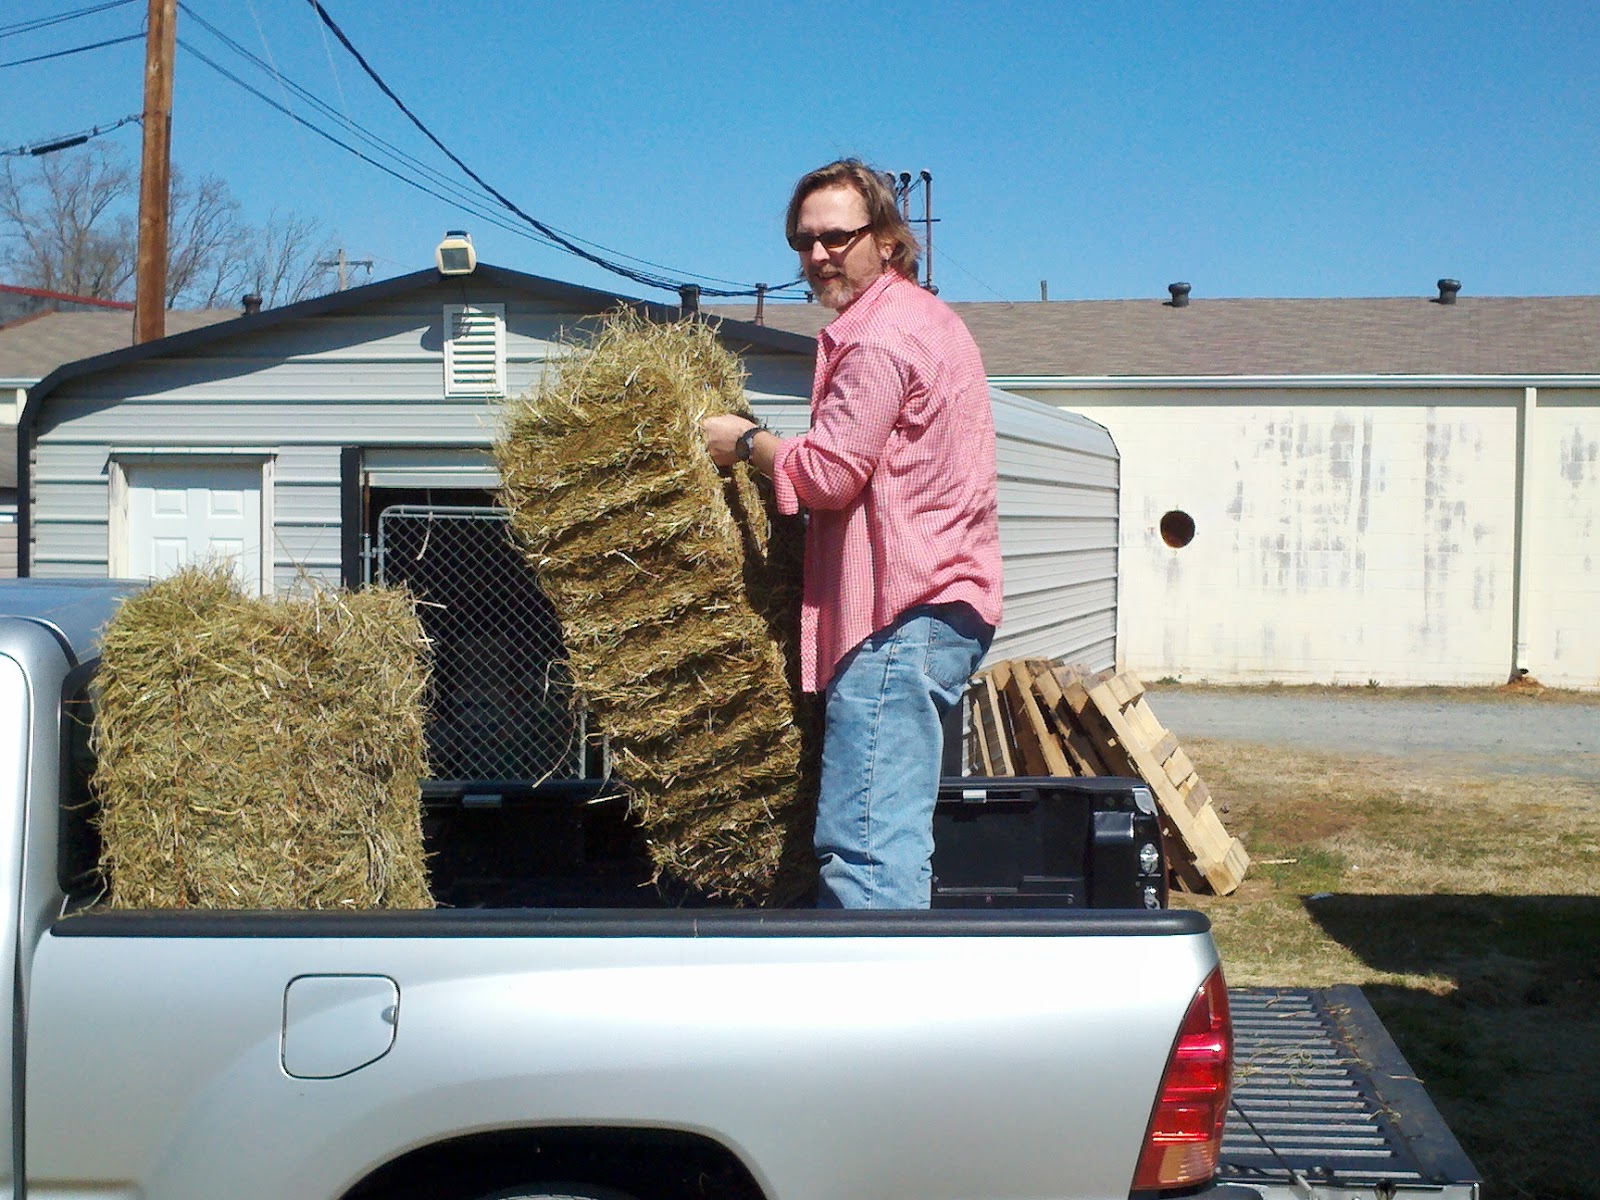
As Spring fast approaches, we needed to get hay to implement the Ruth Stout gardening method.  So we made an outing to Woof'N Hoof in Mint Hill.


We hadn't a clue how much hay to get. All we know is that the hay needs to be 8" thick to start and more will be needed once that all settles down. We filled up Tom's truck with12 bales. We should have gotten a clue that we over bought when the woman at the store said, "How big IS your garden?" I very proudly said, "Oh, it's big."


Now that Tom has thousands of other critters to take care of (bees), the worms have taken a back seat. It just became too labor intensive to keep up with the worm compost so we decided to dismantle it.  We'll still compost our kitchen scraps, but they'll go in the big composting bins with grass clippings and yard waste.  That way we're only keeping up with one composting system rather than two. Nonetheless, Tom put the worms to good use by scooping up all the worms and all of their castings....


and relocated them directly into the garden.


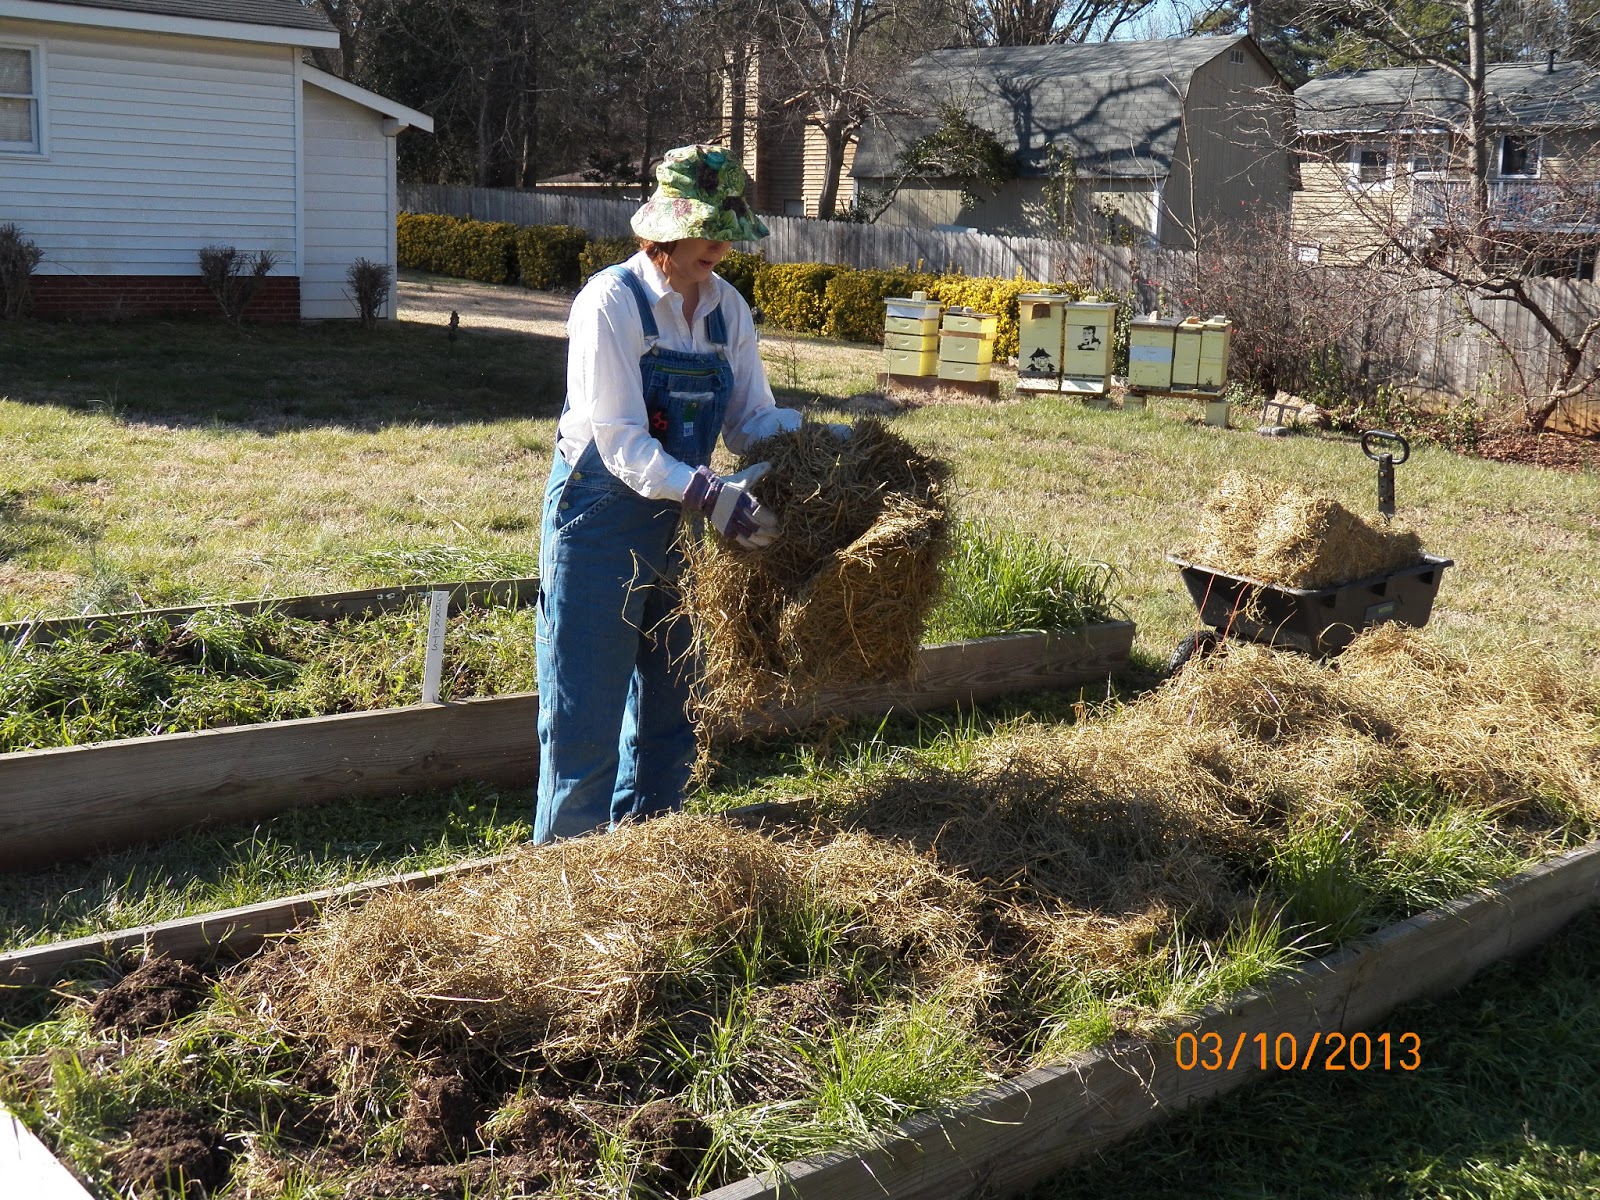
Once that was down, the spreading of the hay began. One of the beauties of Ruth Stout's method is that you shouldn't have to weed a bed ever again. You simply pile more hay on top of the weeds and that snuffs them out. So, we figured me might as well test it out from the get-go and simply pile the hay on top of the weeds. Bed 2 had all the rye grass in it which Tom turned under several weeks ago. However, much of the grass re-rooted so instead of tilling it under, I just piled the hay on top.


Then I piled some more...


and more...


until we had a good 12" layer.


Critics of Ruth Stout's method say that the hay makes for an unattractive garden. Personally, I'd rather see the hay than weeds. I suppose it's not super attractive, but you know what? If it makes easier work of gardening, who the heck cares? (That was her philosophy too.) Besides, it's in the backyard and as of yet Home & Garden hasn't come knocking on my door, requesting a photo shoot.


I thought we'd give this patch yet another try. We tried for a few years to get something happening in this mostly shady spot but nothing took root (except weeds). Last year we didn't try anything. So I layered it with hay and we'll plant something or other in it soon.


When you have plants growing, like this cabbage (left), you simply pull the hay around the base of it, keeping the moisture locked into the soil and the plant exposed to the sun and rain. Then, you mush down the weeds (right) with a thick layer of hay. Ironically, after tucking the hay all nice and neat around this cabbage I ended up harvesting it for dinner the next night. I pulled the pant out, cut the head out of the middle, left the rest of the plant in the bed and covered it up with lots of hay. From here forward, that's how we're to handle the 'waste' material from the garden. Instead of taking out the stalks and roots of plants, we are to lay them down, cover them with hay, and they'll compost right into the bed.


I tucked the hay all around the rows of spinach...


as well as the collards. You'll notice I didn't put any hay to the left of the collards. That's because there are pea seeds planted there which haven't sprouted yet. Anywhere seeds have been planted should be free from hay until they sprout. Otherwise 1. you won't know where the seeds are and 2. they won't grow because the sun can't get to them.


I tucked hay around the remaining cabbages as well.


Here is the before, where most of the green you see in Beds 1-3 are weeds...


and here is the after.  The green at the far end of Bed 1 is garlic and a lot of weeds. I have to take some time to clip out the weeds before spreading the hay around the garlic. But that'll be another day. Our last frost date is April 15 so we're keeping the hoop houses on Bed 4 where the spinach and collards are just in case we get a freak winter storm between now and then.

Remember when I said we didn't know how much hay to get? Well it took all of three bales to cover what you see here and the misc bed up near the house. Needless to say, we overbought by a little - 9 bales too many! Oh well. We'll definitely use one more bale to cover the potato patch and to finish out the rest of these beds and there's no doubt we'll use more as we go along.

Oh, and if any of you want to start using the Ruth Stout mulching method of gardening in your own garden, no need to find a source for hay. We have some to sell ya! If you're in Charlotte, we'll even deliver it to you.