written by Yvonne
This project came about in stages and it's taken me a bit to load up the photos and write to them. As you can see by the dates on the photos, it was actually complete several weeks ago.
Last year we were able to grow spinach all winter long with very little effort. When it got cold, we threw row covers over the beds to protect the plants from frost and that was it. Impressed with our results, Tom wanted to ratchet things up a notch this year and build hoop house over the beds. A little research on the internet, and he was back from Lowe's with supplies and building them before I knew it.
Last year we were able to grow spinach all winter long with very little effort. When it got cold, we threw row covers over the beds to protect the plants from frost and that was it. Impressed with our results, Tom wanted to ratchet things up a notch this year and build hoop house over the beds. A little research on the internet, and he was back from Lowe's with supplies and building them before I knew it.

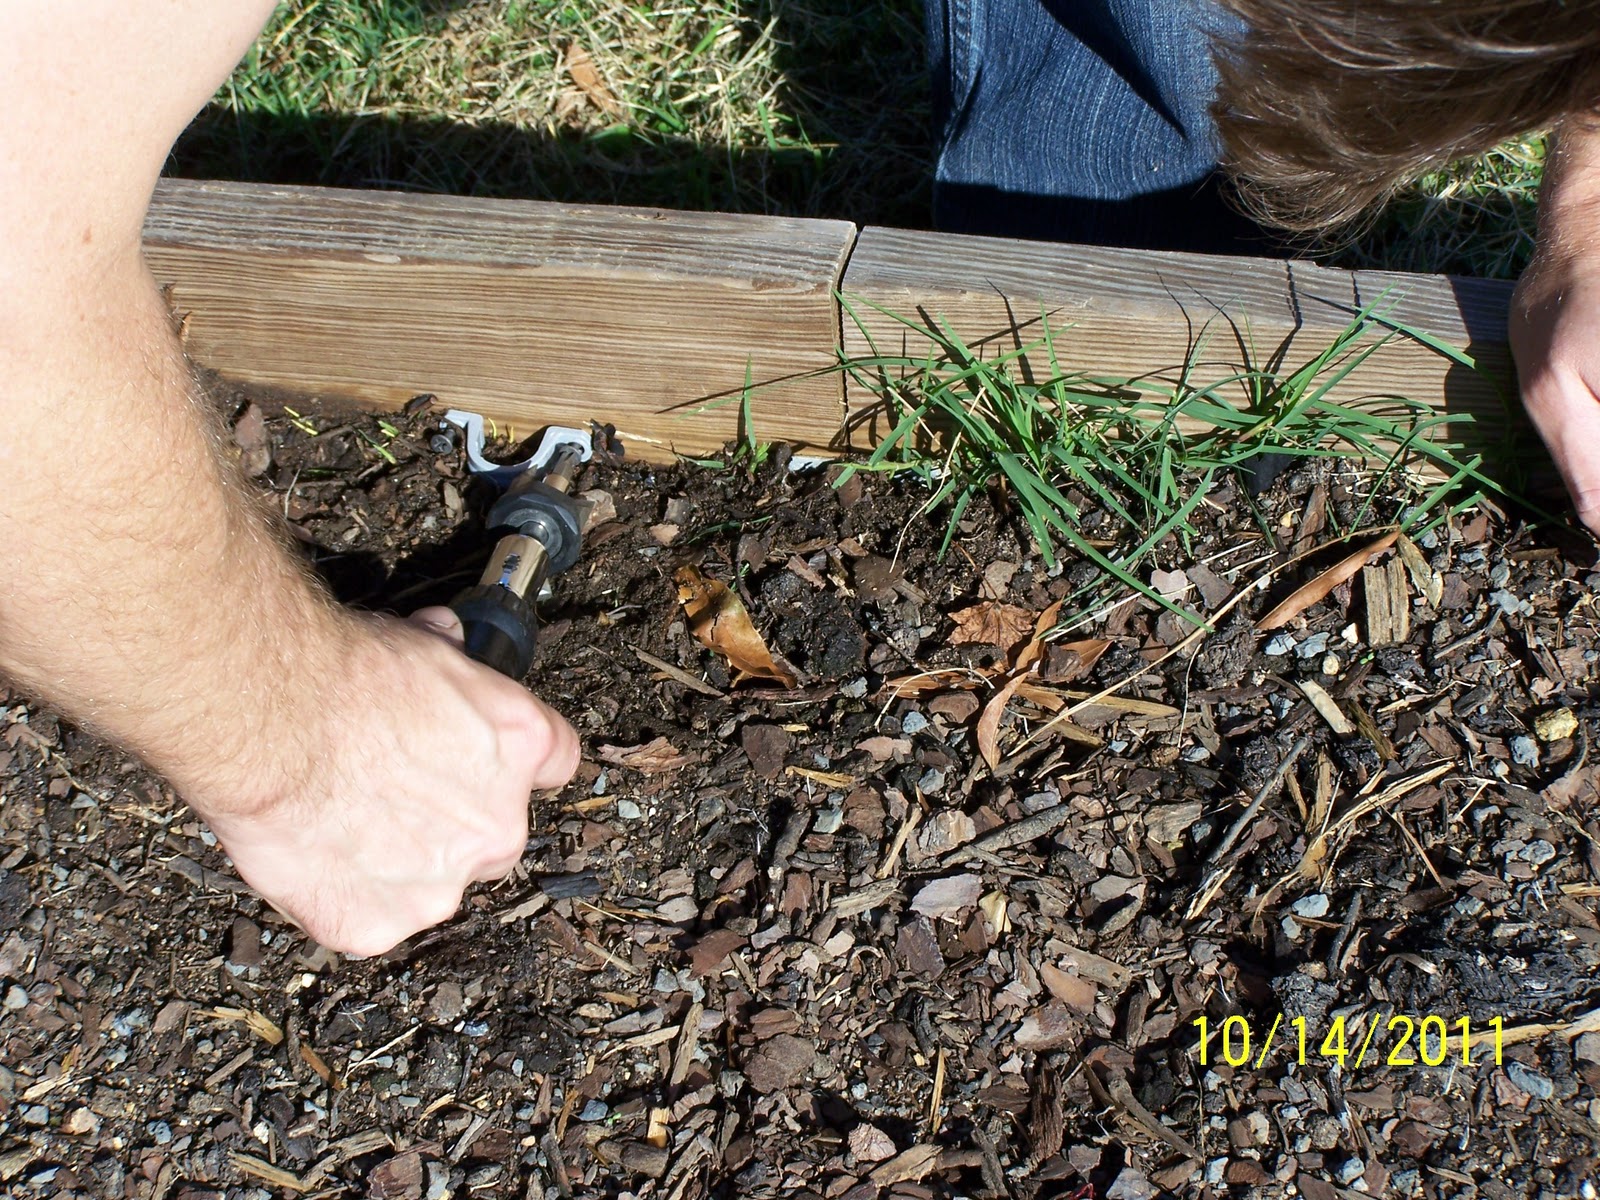
He screwed conduit clamps on the inside of the boxes; one on each side, across from one another. (And naturally he had a helper.) He had no idea what conduit clamps were until he went to the hardware store.
Then he used 1/2" PVC pipe, that were 10' long each. He inserted one end into the clamp on one side...
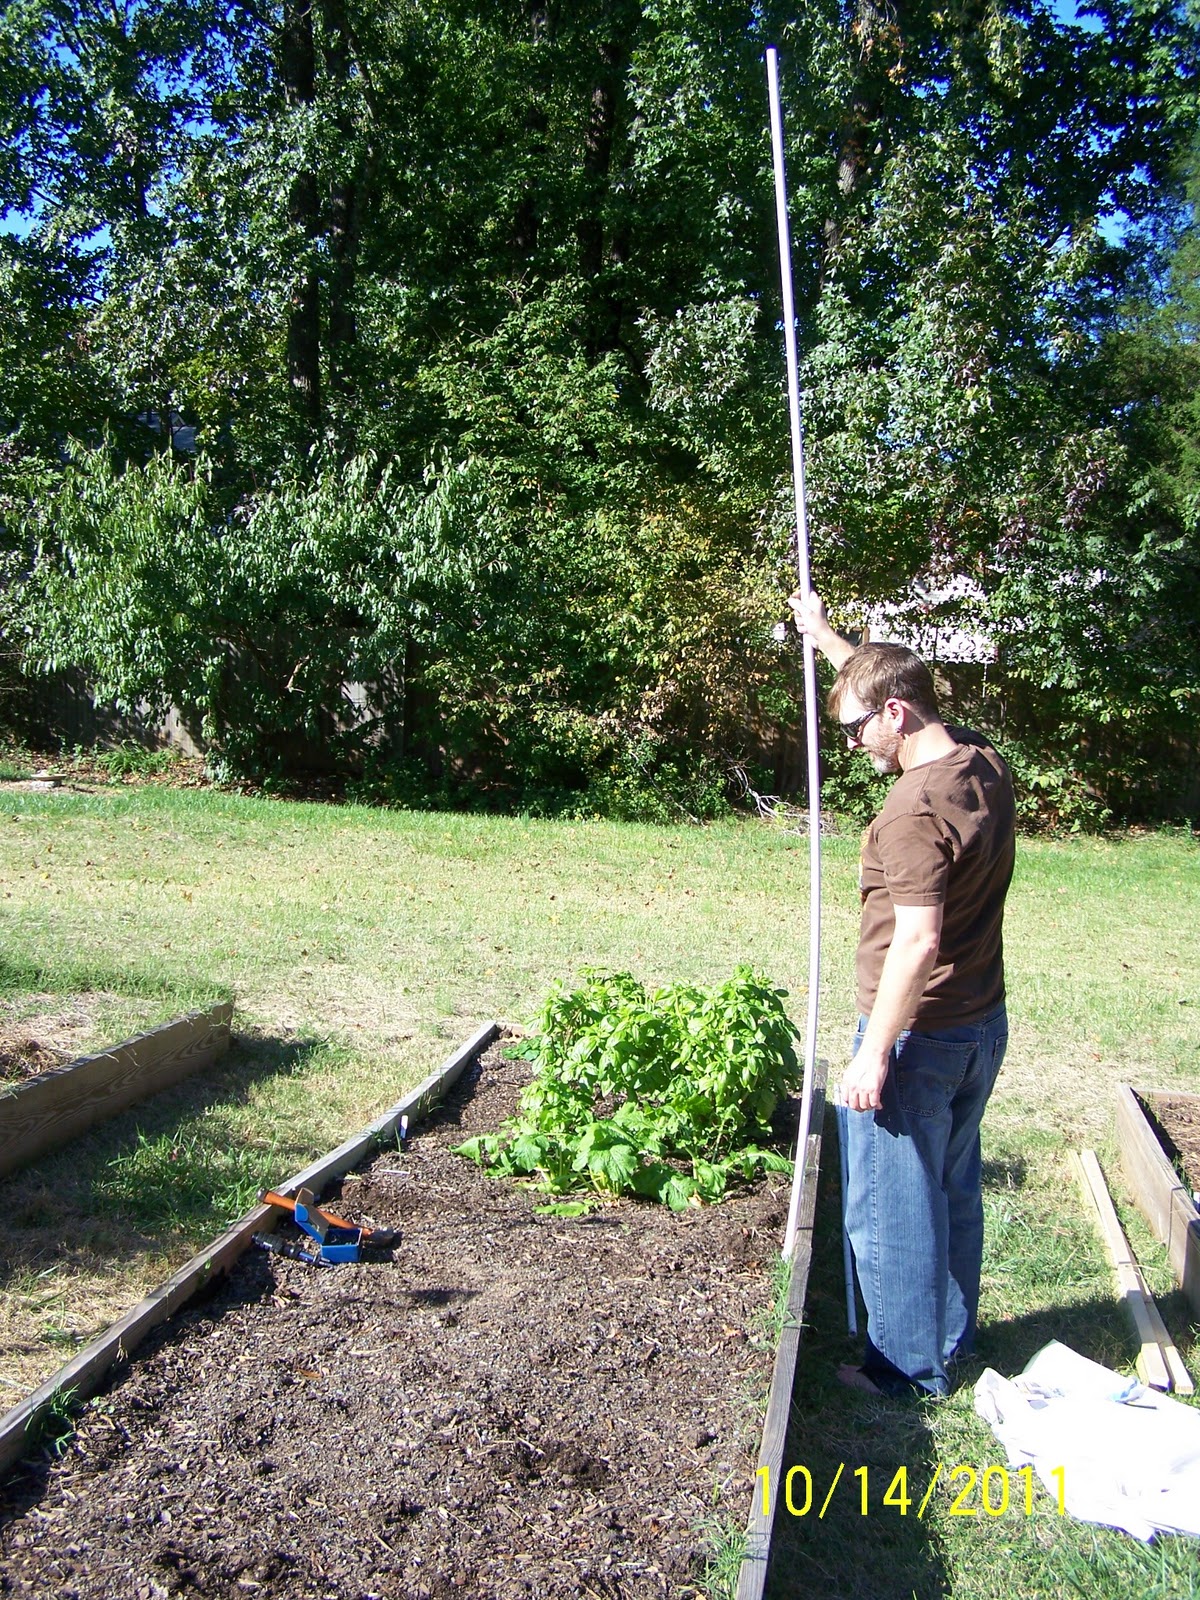
bent the PVC over the bed....

and inserted it into the clamp on the other side.

Then he cut a piece of PVC 8' long for the top....

and secured it with plastic zip ties. This gives the hoop house more stability.

Next he bought 1"x2" pieces of wood in 8' lengths and tied them with jute twine onto each side of the PVC hoops.

This gives additional structure to the hoops and because it's tied on, it slides up and down the PVC easily to move out of the way when we need to harvest. Olive was quite proud of Pack Leader 1.

He built them in two sections for beds #4 and #3 (looking from left to right). Bed #2 only gets half a house because we have garlic in the other half and it doesn't need to be covered through winter. Bed #1 doesn't get any covering this year because that's where the rye grass is. At the end of next summer, bed #1 and the second half of #2 will get their hoop houses so we can rotate crops.

The row covers we already had covered the hoops with room to spare, however it was too short. The covers needed to be long enough to clamp the ends together so the beds will be completely covered. Therefore, my contribution was to figure out how to make this happen. I determined that I could take one row cover, cut it into thirds, and sew one third onto the end of a full cover. So, I cut one cover into thirds...

and pinned one of the thirds onto the end of a full row cover. (Our helper wanted to make sure she helped with ALL aspects of this project. "Mmm... comfy bed. Thanks Pack Leader 2!")

Then with my team of helpers, I sewed the pieces together.
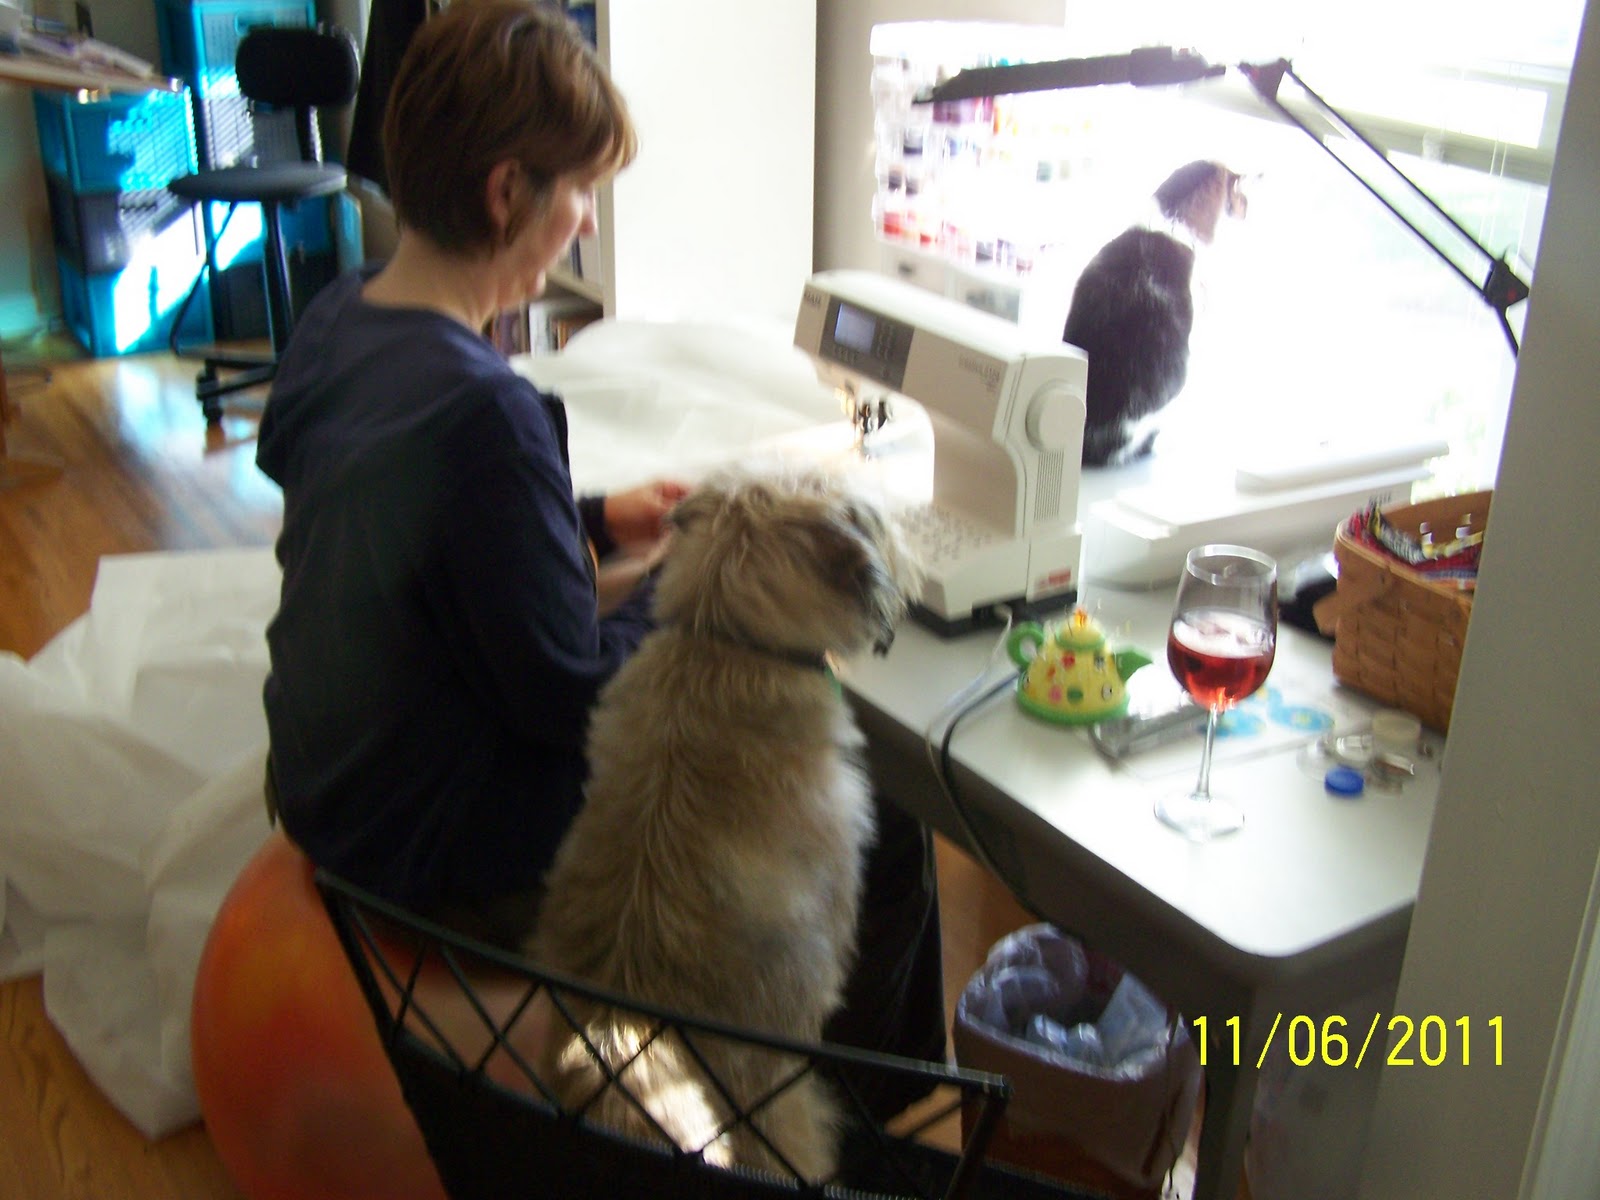

Here is what they look like, finished and uncovered.

(Olive has never shown any interest in stepping onto the vegetable beds in the least... until we put these hoop houses up. Now I think she sees them as her outdoor kennel or den or something. She wants in SO bad.)

He used a few spring clamps on each end, and a few along the top and sides to close up the houses...

and the winter hoop houses are complete! Now our fall/winter crops should prosper as much, if not more, than our spring/summer crops! ("Look at MY hoop houses. I did ALL the work except for the parts that required opposeable thumbs, to which I give two-paws up to my Pack Leaders for their participation!")

No comments:
Post a Comment